Android
중고 거래 앱 만들기 (1) - 프래그먼트 (액티비티처럼 동작하는 뷰)
wdadaww
2022. 12. 29. 01:28
- activity_main_xml
<?xml version="1.0" encoding="utf-8"?>
<androidx.constraintlayout.widget.ConstraintLayout xmlns:android="http://schemas.android.com/apk/res/android"
    xmlns:app="http://schemas.android.com/apk/res-auto"
    xmlns:tools="http://schemas.android.com/tools"
    android:layout_width="match_parent"
    android:layout_height="match_parent"
    tools:context=".MainActivity">

    <FrameLayout
        android:id="@+id/frgmentContainer"
        android:layout_width="0dp"
        android:layout_height="0dp"
        app:layout_constraintBottom_toTopOf="@id/bottomNavigationView"
        app:layout_constraintEnd_toEndOf="parent"
        app:layout_constraintHorizontal_bias="0.0"
        app:layout_constraintStart_toStartOf="parent"
        app:layout_constraintTop_toTopOf="parent" />

    <com.google.android.material.bottomnavigation.BottomNavigationView
        android:id="@+id/bottomNavigationView"
        android:layout_width="match_parent"
        android:layout_height="wrap_content"
        app:itemTextColor="@color/black"
        app:itemRippleColor="@null"
        app:itemIconTint="@drawable/menu_color"
        app:layout_constraintBottom_toBottomOf="parent"
        app:layout_constraintEnd_toEndOf="parent"
        app:layout_constraintStart_toStartOf="parent"
       app:menu="@menu/menu"/>

</androidx.constraintlayout.widget.ConstraintLayout>
1. 리소스파일 layout/menu xml파일을 생성해줍니다.
<?xml version="1.0" encoding="utf-8"?>
<menu xmlns:android="http://schemas.android.com/apk/res/android">
    <item
        android:id="@+id/home"
        android:title="홈"
        android:icon="@drawable/ic_baseline_home_24"/>

    <item
        android:id="@+id/chatList"
        android:title="채팅"
        android:icon="@drawable/ic_baseline_chat_24"/>
    <item
        android:id="@+id/mypage"
        android:title="나의 정보"
        android:icon="@drawable/ic_baseline_person_search_24"/>
</menu>
-> icon은 drwable/vector image 생성햇습니다
1.리소스파일/drawable/menu_color.xml 파일 생성
<?xml version="1.0" encoding="utf-8"?>
<selector xmlns:android="http://schemas.android.com/apk/res/android">
    <item android:color="@color/black" android:state_checked="true"/>
    <item android:color="@color/Gray" android:state_checked="true" />
</selector>
->item에 색상을 따로 지정해주엇습니다.
Fragment
- 패키지파일 생성후 클래스파일 홈, 채팅,나의정보에 대한 3개의 프래그먼트와 레이아웃를 만들어줍니다
package com.example.secondhandtrade.chatlist

import androidx.fragment.app.Fragment
import com.example.secondhandtrade.R

class ChatListFragment: Fragment(R.layout.fragment_chatlist) {
}
package com.example.secondhandtrade.home
import androidx.fragment.app.Fragment
import com.example.secondhandtrade.R
class HomeFragment:Fragment(R.layout.fragment_home) {
}package com.example.secondhandtrade.mypage
import androidx.fragment.app.Fragment
import com.example.secondhandtrade.R
class MypageFragment: Fragment(R.layout.fragment_mypage) {
}Fragment.xml를 불러와서 재사용하여 쓸수있기때문에 메인액티비티 코드에작성합니다.
xml을 따로 구분하기위해 백그라운드를통해 색깔을넣어주엇습니다.
- build.gradle 에 뷰바인딩추가
android {

    buildFeatures{
        viewBinding true
}- MainActivity 코드
package com.example.secondhandtrade

import androidx.appcompat.app.AppCompatActivity
import android.os.Bundle
import androidx.fragment.app.Fragment
import com.example.secondhandtrade.chatlist.ChatListFragment
import com.example.secondhandtrade.databinding.ActivityMainBinding
import com.example.secondhandtrade.home.HomeFragment
import com.example.secondhandtrade.mypage.MypageFragment

class MainActivity : AppCompatActivity() {
    private lateinit var binding: ActivityMainBinding
    private lateinit var mypageFragment: MypageFragment
    private lateinit var chatListFragment: ChatListFragment
    private lateinit var homeFragment: HomeFragment

    override fun onCreate(savedInstanceState: Bundle?) {
        super.onCreate(savedInstanceState)
        binding = ActivityMainBinding.inflate(layoutInflater)
        setContentView(binding.root)

        homeFragment = HomeFragment()
        chatListFragment = ChatListFragment()
        mypageFragment = MypageFragment()

        //처음 화면
        replaceFragment(homeFragment)
                //setOnNavigationItemSelectedListener사라졋다고나옴
        binding.bottomNavigationView.setOnItemSelectedListener {
            when (it.itemId) {
                R.id.home -> replaceFragment(homeFragment)
                R.id.chatList -> replaceFragment(chatListFragment)
                R.id.mypage -> replaceFragment(mypageFragment)
            }
            true
        }

    }
    //프래그먼트 동적제어
    private fun replaceFragment(fragment: Fragment) {
        supportFragmentManager.beginTransaction()
            .apply {
                replace(binding.frgmentContainer.id, fragment)
                    .commit()

            }
    }
}
- 애뮬레이터 실행화면.
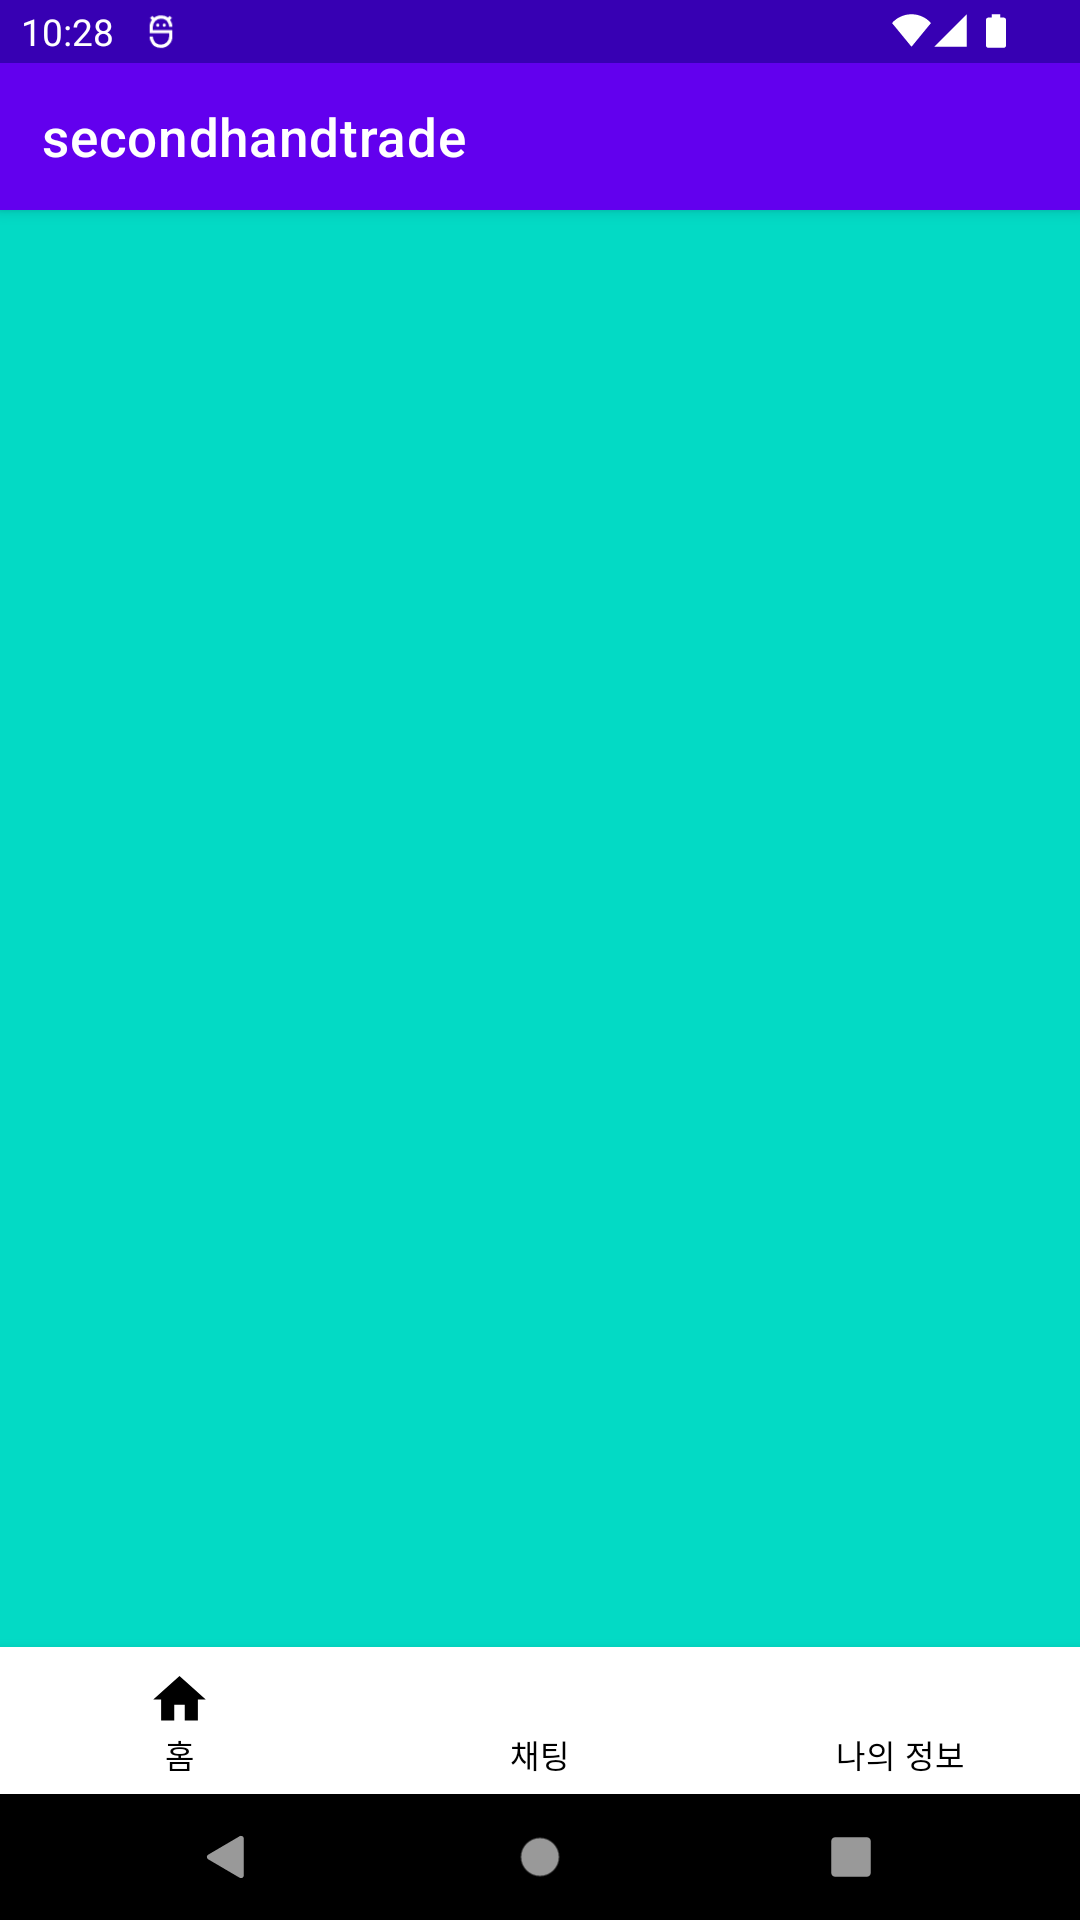
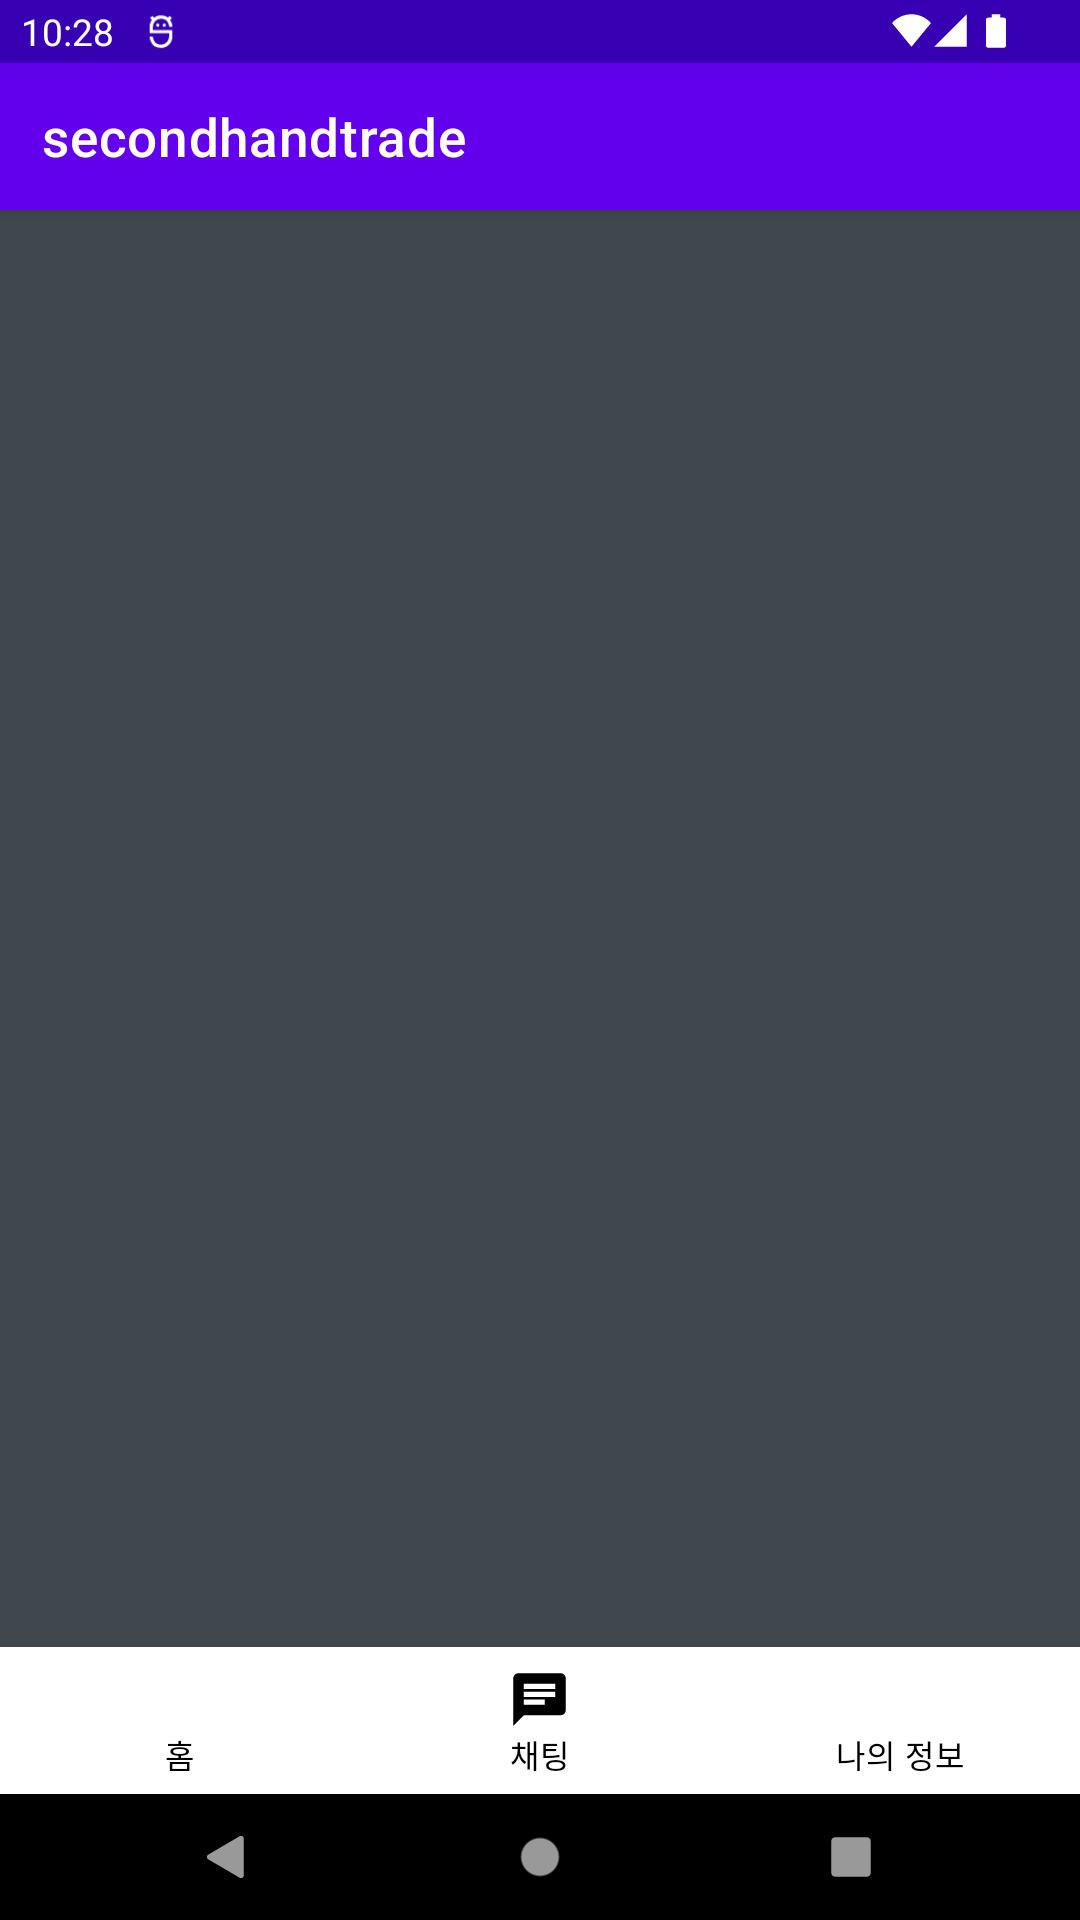
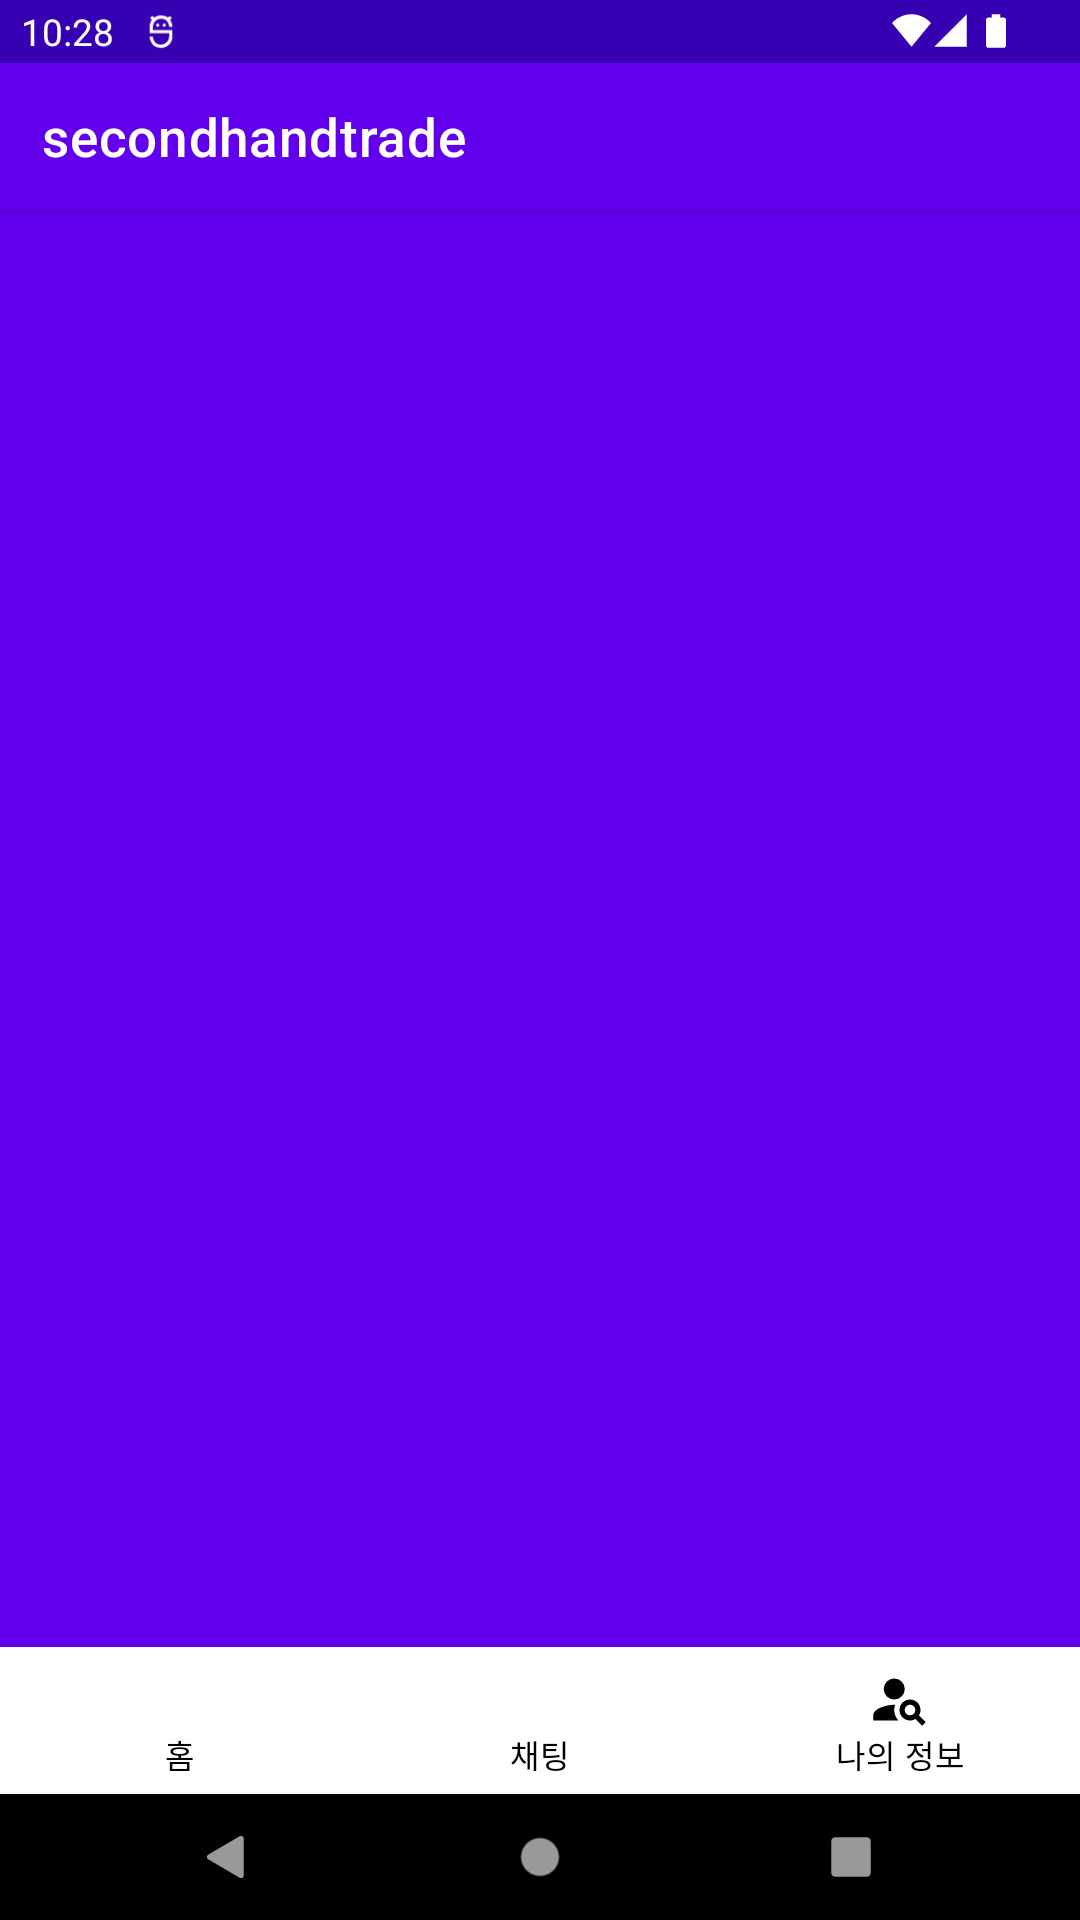
이렇게 홈 채팅 나의정보를 눌럿을때 화면이 바꿔지는걸볼수잇다.